Free Christmas Tree Amigurumi Pattern — Easy No-Sew Chenille
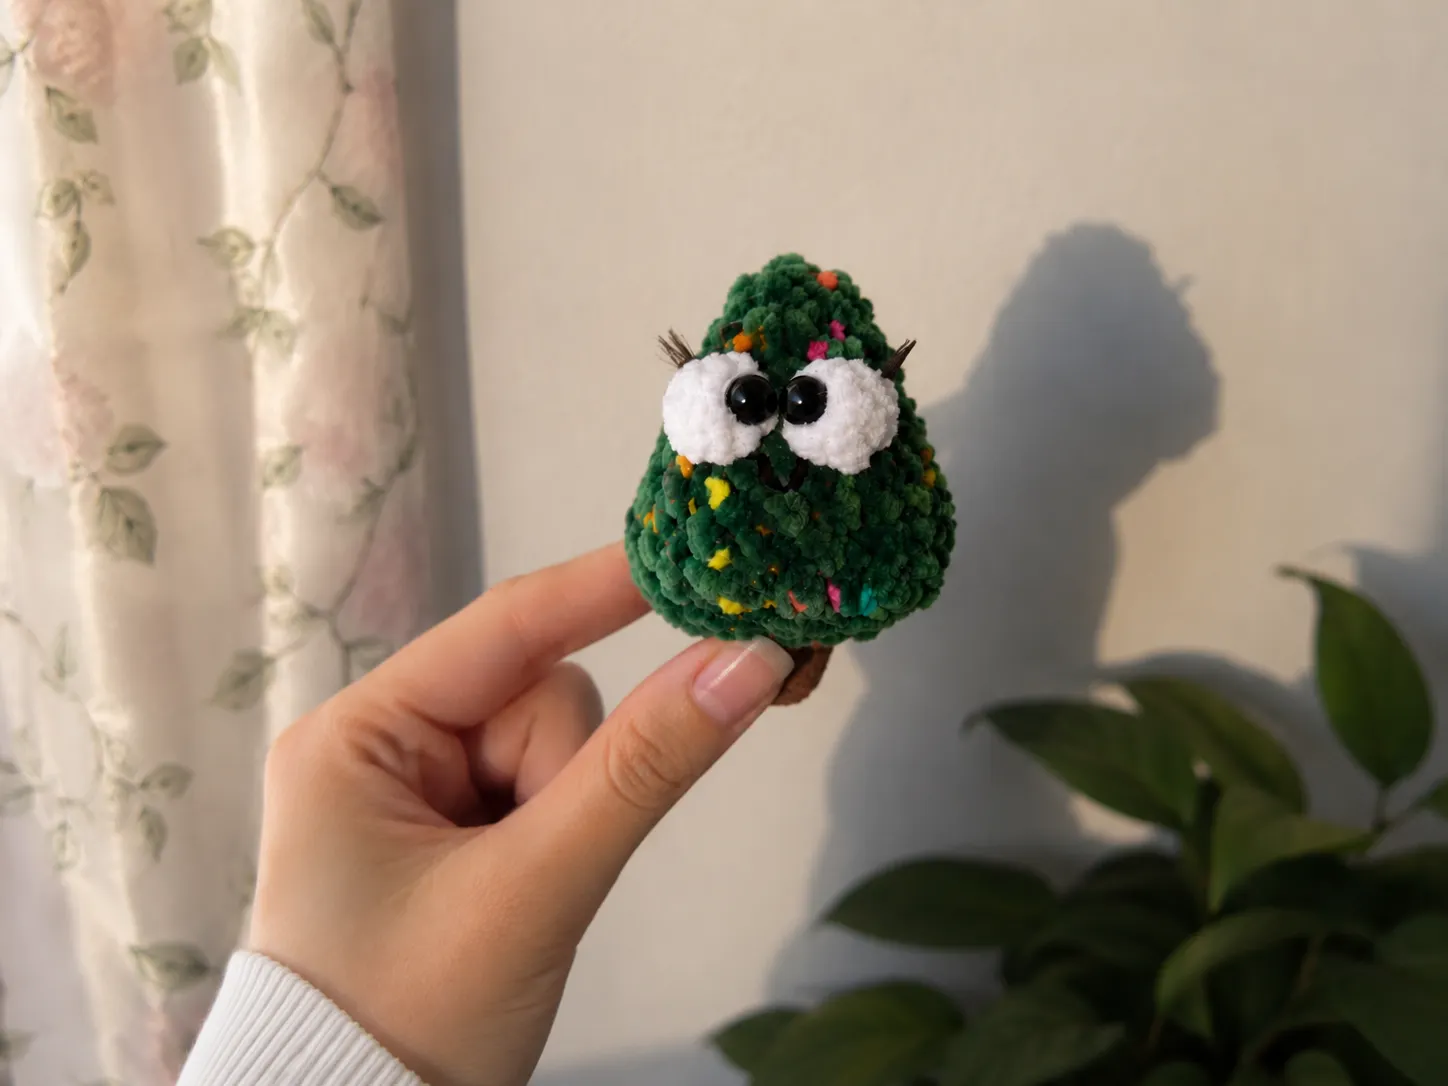
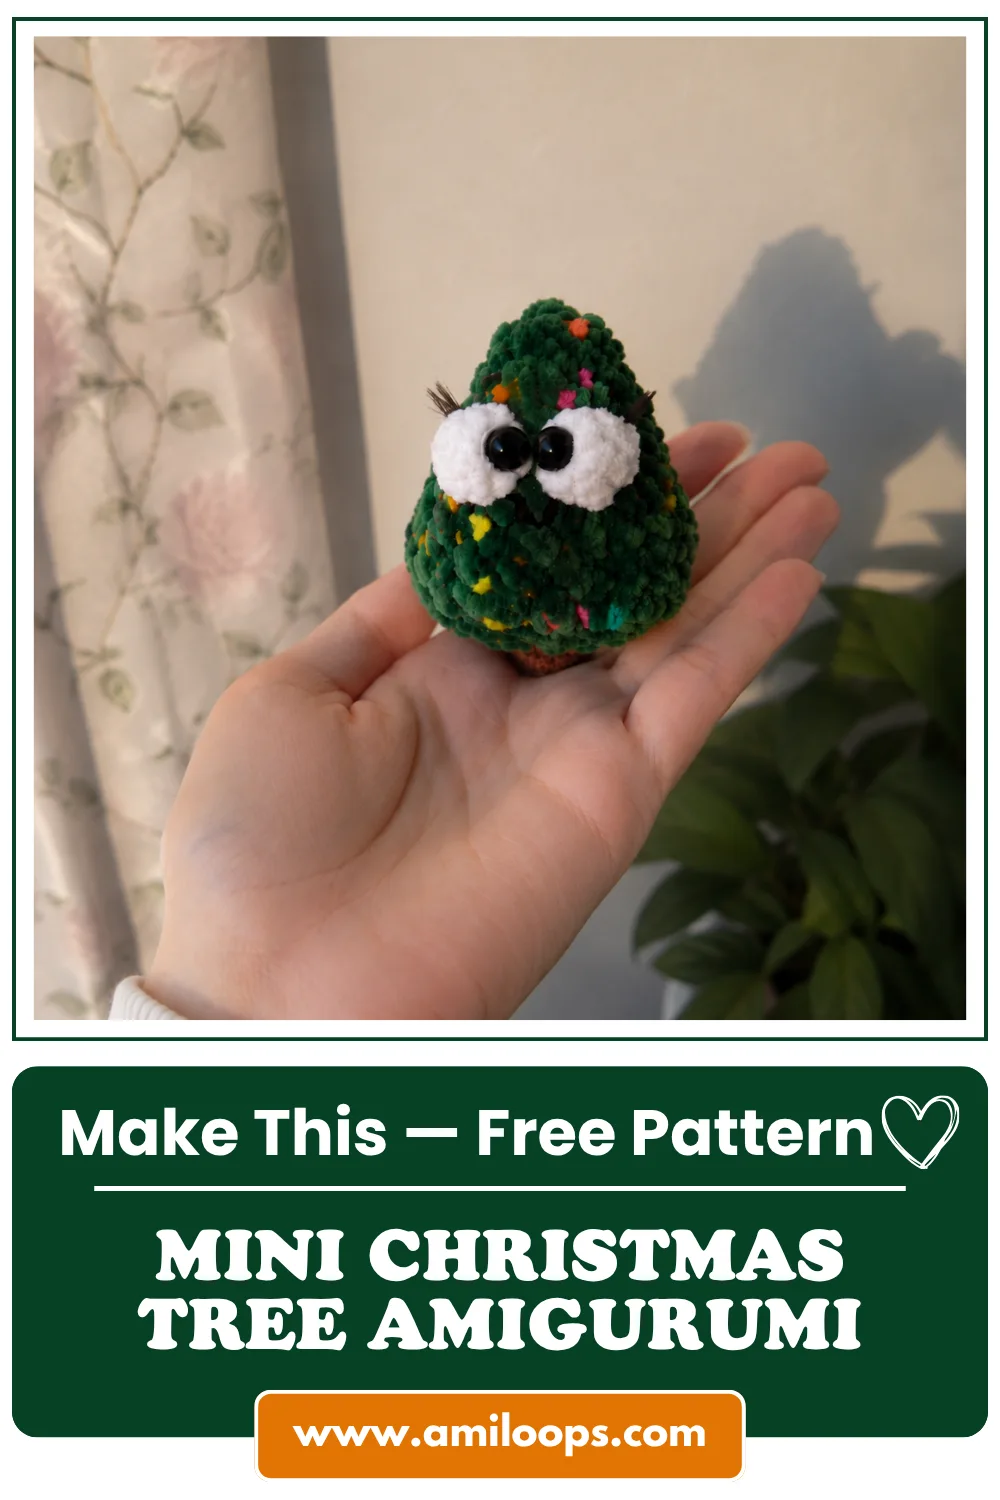
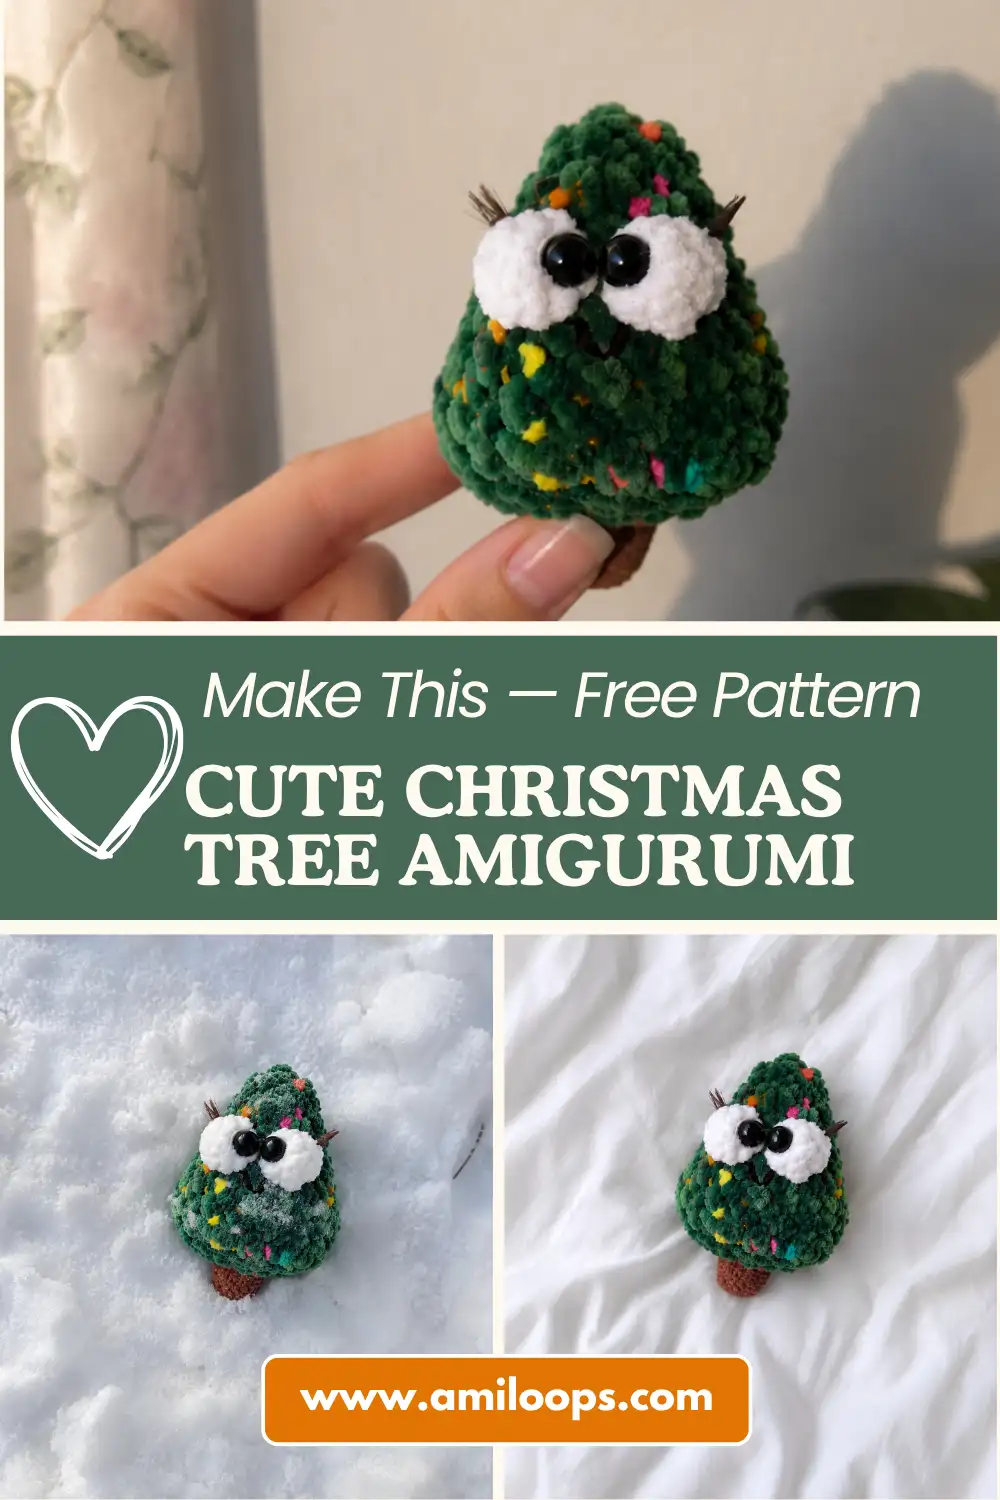
This Christmas tree amigurumi free pattern is honestly one of my favorite quick makes all year — it’s tiny, it’s squishy, and it works up in about the length of a holiday playlist. You’ll start with a little brown trunk, watch it flare out into a chunky chenille tree, and then narrow back up to a cute little point. No sewing, no separate pieces, just one continuous piece from start to finish. Grab your hook — let’s make a tree with a face.
🧶 Why You’ll Love This Pattern
- ⭐ Difficulty: EASY–INTERMEDIATE (one new stitch, but I promise it’s not scary)
- ⏱️ Time: About 1 hour (estimate — it’s tiny, so it goes fast)
- 🪡 Sewing: None — it’s one continuous piece, no assembly required!
- 🧵 Yarn: Chunky chenille — soft, squishy, and quick to work up
- 💰 Yarn needed: Less than 1 skein — just scraps of brown, green, and a touch of white
Materials for This Christmas Tree Amigurumi Pattern
Here’s what you’ll need to make this little guy. Nothing fancy, nothing you can’t find at Joann, Michaels, or Hobby Lobby.
- Plush/chenille yarn in green, white, and brown. The original designer used Wolans Bunny Baby, but a US Bulky (5) weight chenille like Premier Parfait or Bernat Baby Velvet works perfectly. This yarn typically comes in 100g/about 131 yd skeins, but since this tree is so mini, you’ll only need small amounts of each color.
- Hook: The pattern calls for a 3.0mm hook, which doesn’t have a clean US letter match — it falls right between a C/2 (2.75mm) and a D/3 (3.25mm). The designer actually worked this with a D/3 (3.25mm), so that’s a totally safe bet. Prefer a slightly bigger hook? An E/4 (3.5mm) works too — just keep your tension consistent.
- Glue-on safety eyes, 8mm or 10mm
- Fiberfill stuffing
- Fabric glue for the eyes and eyelashes (the designer used Moment Gel)
- A small scrap of eyelashes (totally optional)
- Thin black thread, for embroidering the smile
- Strong thread (like a polyester/lavsan thread) if you want to try the optional face-sculpting step
- Wide-eye needle for closing up the piece, plus a long needle if you’re sculpting the face
- Scissors
Don’t stress about matching the exact yarn brand — any soft chenille in a similar weight will give you that same squishy little tree.
Abbreviations You’ll See in This Pattern
| Abbreviation | Meaning |
|---|---|
| sc | single crochet |
| inc | increase — 2 single crochets worked into the same stitch |
| dec | invisible decrease — worked through the front loops of the next 2 stitches to keep things nice and gap-free |
| puff st | puff stitch — 4 half double crochets closed together into one stitch. It sounds fancy, it’s really just a little poof. You’ll only use it twice, for the eye bases. |
| ch | chain |
| mr | magic ring — the adjustable loop you start with |
| BLO | back loop only — you’re only working into the back loop of the stitch |
| FLO | front loop only — you’re only working into the front loop of the stitch |
Beginner Tips Before You Start
Never made a magic ring before? No worries — our magic ring tutorial walks you through it in under two minutes, and you’ll use it right at the start of this pattern.
This pattern uses invisible decrease throughout, and honestly, once you get the hang of it, you’ll never want to go back. If it’s new to you, our invisible decrease guide breaks it down step by step — it’s the secret to a smooth-looking tree with no visible gaps.
Watch for the rows that say BLO or FLO — that’s not a typo, it’s intentional! Working into just one loop leaves a little ridge, which is exactly how this pattern gets that trunk-to-branches shape without adding any extra pieces.
And when you get to the stuffing step, don’t overthink it — a little at a time is the move. Our stuffing guide has you covered if you’ve ever ended up with a lumpy amigurumi (we’ve all been there).
Let’s Make the Body — It’s the Whole Pattern!
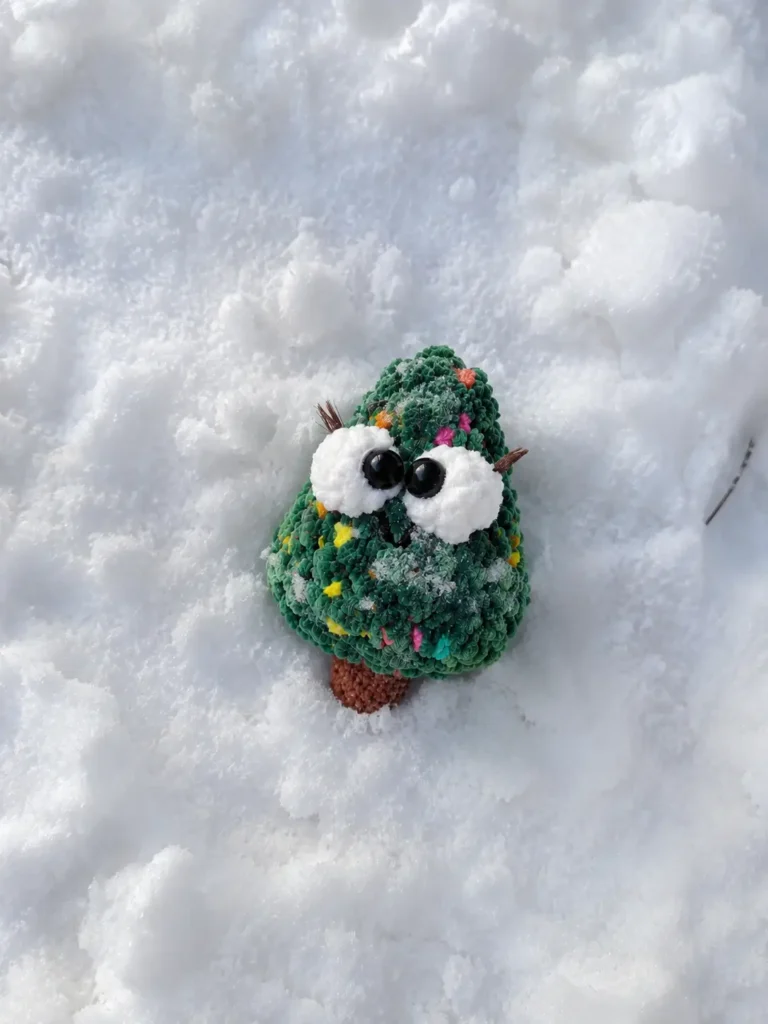
Here’s the best part: this entire tree is ONE piece. One continuous spiral, no separate parts to make, no sewing anything together at the end. You start at the trunk and work your way up to the tip. That’s it.
Part: Body
Start with brown yarn and a magic ring.
Row 1: 6 sc in mr (6)
Row 2: BLO: 6 sc (6)
Row 3: 6 sc (6)
That’s your trunk done! Now switch to green yarn and cut the brown — you won’t need it again until it’s time to decorate.
Row 4: FLO: 6 inc (12)
Row 5: (1 sc, inc)*6 (18)
Row 6: (3 sc, inc)*4, 1 sc, inc (23)
🎉 Look at that! You just went from a skinny little trunk to a full, flared-out tree shape in three rows. That FLO row you just worked in Row 4 is what creates the ridge between the trunk and the branches — see? Not so scary, right?
Row 7: BLO: 23 sc (23)
Row 8: (2 sc, dec)*5, 3 sc (18)
Row 9: 18 sc (18)
Row 10: 18 sc (18)
This is the widest part of your tree — 23 stitches was the peak, and now we’re gently narrowing it back up toward the top. This is also a great point to stop and check your work looks like a little green cone. If it does, you’re right on track.
Row 11: (1 sc, dec)*2, puff st [white], dec, puff st [white], dec, (1 sc, dec)*2 (12)
This is your one new-technique row, and it’s where the eye bases go in. Work your 2 puff stitches in white right where the pattern tells you — those little white poofs are exactly what your safety eyes will glue onto later. If your first puff stitch looks a little wonky, don’t rip it out — nobody will be inspecting it that closely once the eyes are glued on!
Row 12: 12 sc (12)
Row 13: 12 sc (12)
🎉 You’re basically there! One more row and you’re closing this thing up. Time to stuff — squeeze it in firmly enough that the tree holds its shape, but don’t overdo it. You want cozy, not rock-hard.
Stuff the body now, firmly but gently, working the fiberfill into the trunk area too so it doesn’t collapse. If you want to try the optional face-sculpting step (using strong thread and a long needle to gently define the area around the eyes), now’s the time — the original pattern doesn’t include a diagram for this part, so treat it as a bonus, not a requirement. Your tree will look adorable either way.
Row 14: 6 dec (6)
Cut your yarn, leaving a tail, and close up the opening with your wide-eye needle. Weave in your ends and you’re done with the crochet part completely!
Assembly — Spoiler: There Isn’t Any!
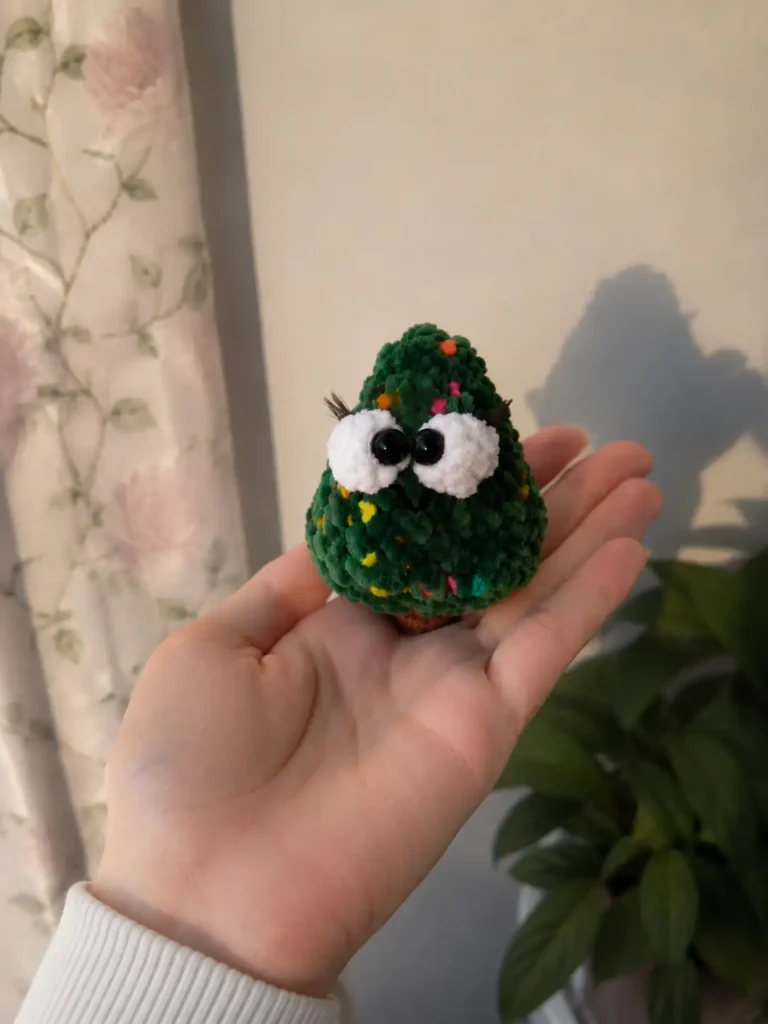
This is my favorite sentence to write: there is no assembly. You didn’t make separate pieces, so there’s nothing to sew together. If you tried the optional sculpting step above, you’re already finished with that too. All that’s left now is giving your tree a face, and that part’s just gluing and a little embroidery.
Decorating Your Tiny Christmas Tree
- Glue the safety eyes onto the two white puff stitches from Row 11.
- If there’s a little gap between the puff stitches, tighten it up with a bit of thin thread so the eyes sit close together.
- Glue on tiny eyelashes if you’re using them — totally optional, but they add so much personality.
- Embroider a small smile underneath the eyes with your thin black thread. Keep it simple — a gentle curve is all you need.
- Decorate the tree however you like! A little embroidered ornament, a scrap of ribbon, or a bead “star” glued to the top all work great.
🧸 A quick safety note: this pattern uses glue-on eyes rather than the locking, washer-back safety eyes, and at 2–2.4 inches finished, this little tree is small enough to be a genuine choking hazard for young children. I’d treat this one as a shelf decoration or a gift for an older kid or fellow crocheter rather than a toy for a baby or toddler. If you do want it toy-safe for a little one, swap in locking safety eyes and skip the glued eyelashes — the CPSC has good guidance on toy safety standards for small parts.
You Did It!
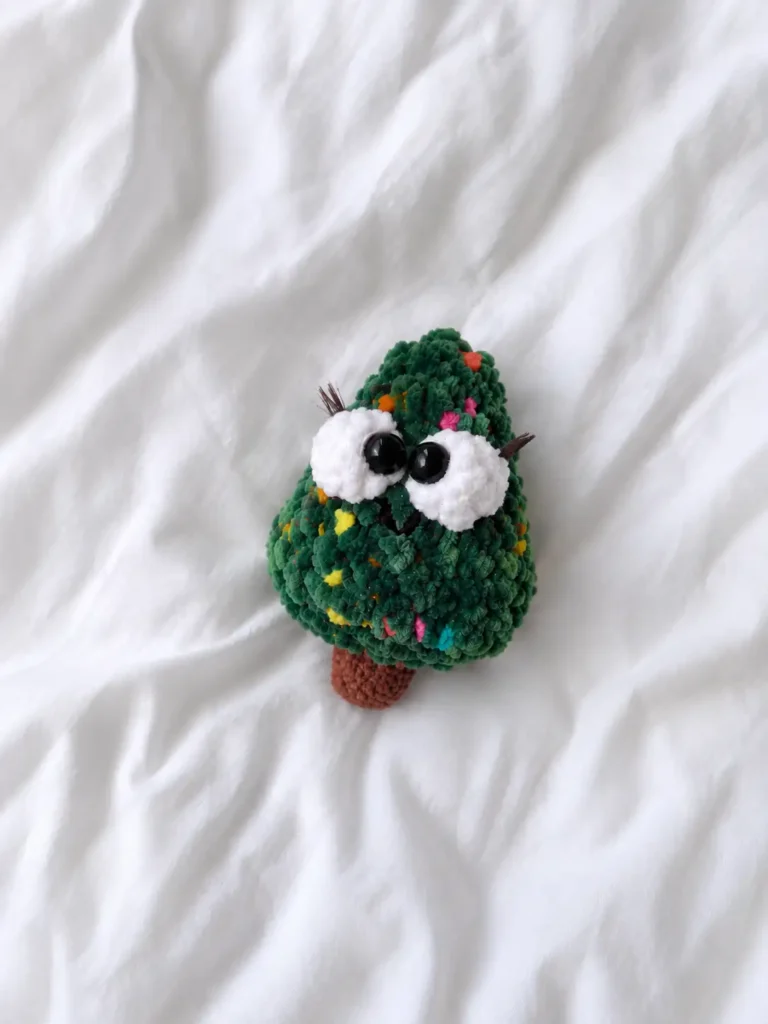
Look at that little face! You just made an entire amigurumi — trunk, branches, personality and all — from one continuous piece, with zero sewing. If that puff stitch was new to you, you just added a whole new trick to your crochet toolbox. Tag AmiLoops if you share your tiny tree, I want to see every single squishy version. 🎄🧶
FAQ
What yarn is best for this Christmas tree amigurumi?
A bulky weight (size 5) chenille or plush yarn works perfectly to give the tree a soft, squishy texture.
How long does it take to crochet this tree?
Because it is tiny and uses chunky yarn, you can easily complete this amigurumi in about one hour.
Do I need to sew pieces together?
No! This pattern is completely no-sew. You will crochet the trunk and branches in one continuous piece.